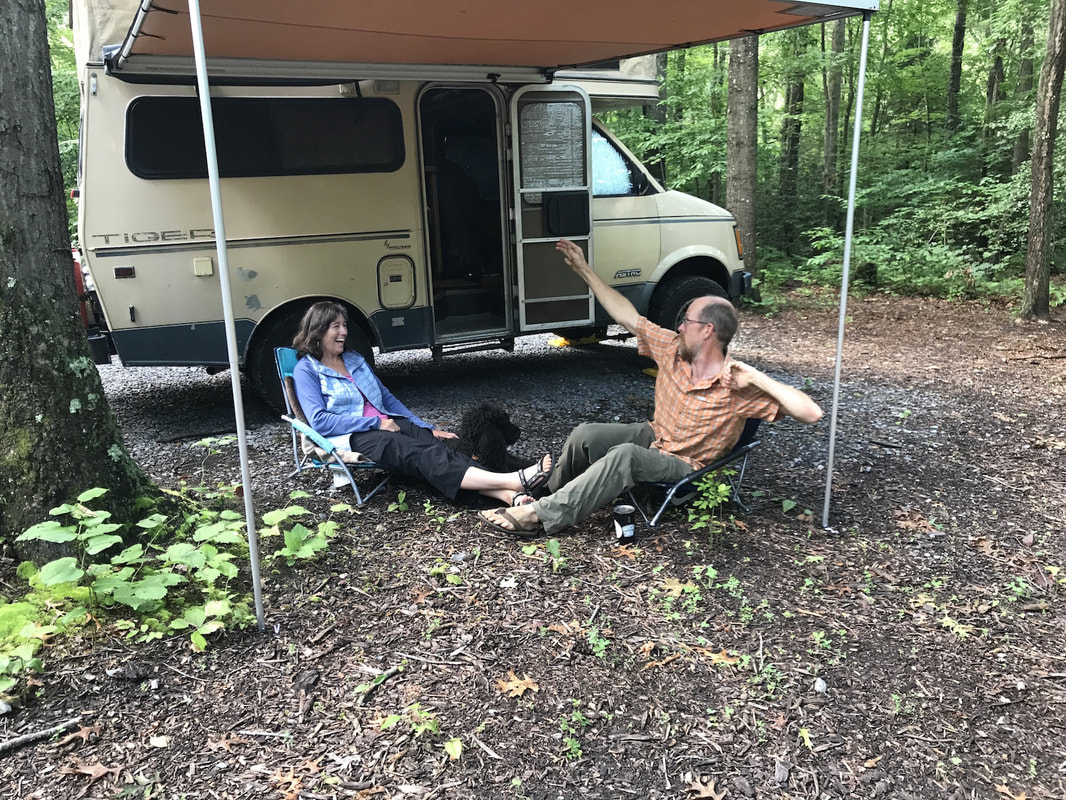
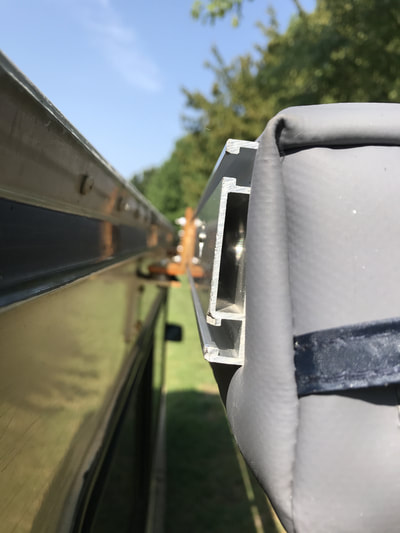
There are lots of reasons to have an awning with your van - to extend you van living space in to the outdoors and to protect from the sun, rain, and bugs!
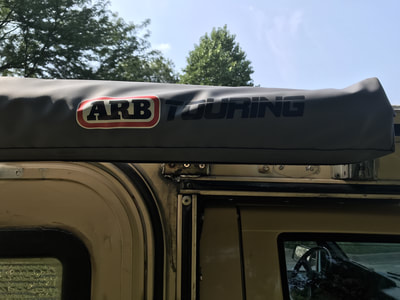
After researching several awning options, we selected the ARB Touring awning because it got good reviews for durability, it was a reasonable price, and it has additional options like the outdoor mosquito netting room.
It's taken us a few tries to get a satisfactory installation for the awning.
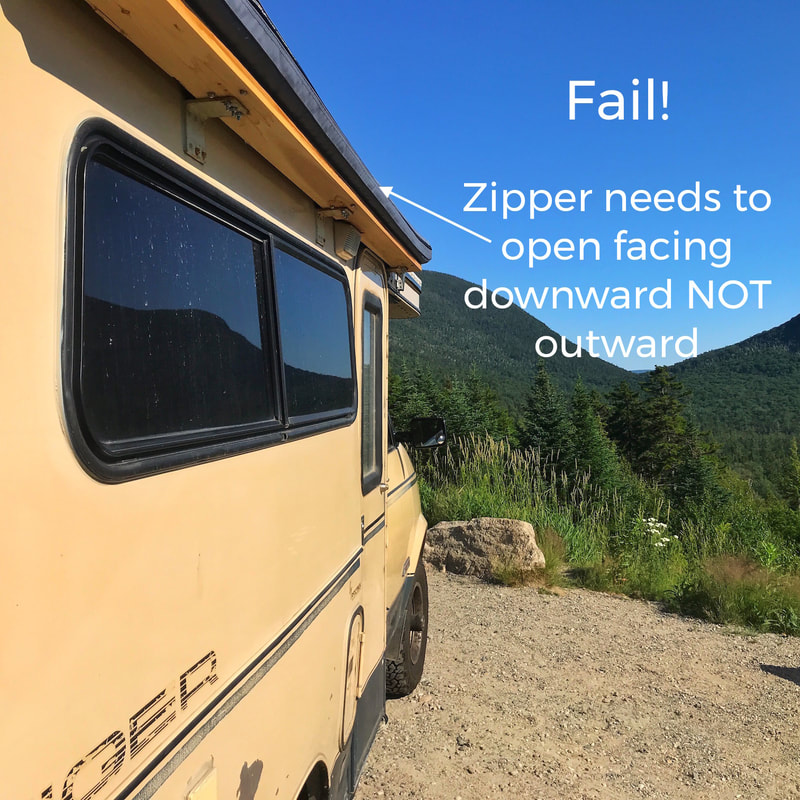
Our initial installation of the awning was a complete FAIL! We discovered the zipper has to be oriented down for the awning to be set up properly! (That's probably in the instructions somewhere, but who reads instructions?)
Changing the orientation of the awning actually complicated our installation by a lot.
- INSTALL ATTEMPT 1 (Complete Fail): Initially we had a simple and super-solid mount onto a cedar board, which used materials from your basic hardware store. I loved this mount because it looked nice, it allowed the awning to be close to the van (i.e. minimal water coming down between the van and the awning during a rain), it distributed the weight across the board. But, as mentioned above, the awning itself will not set up properly with the zipper facing outward.
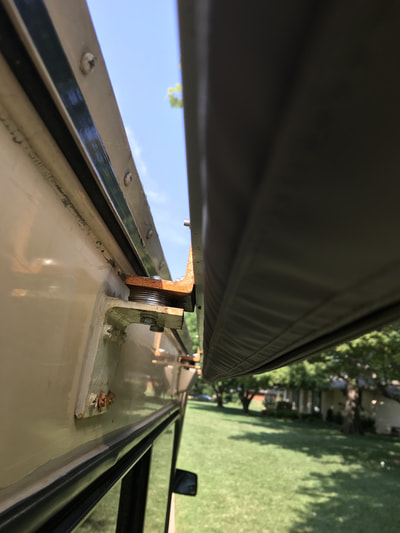
- INSTALL ATTEMPT 2 (Awning now correct, but not ideal bracket): Next we used a steel L-bracket. We had a welder cut the bracket to size. Rick drilled the holes to mount the L-bracket to the existing lower mount on our van and to mount the awning to the L-bracket. We had to place a bunch of washers underneath the L-bracket to position the awning high enough for the van doors to open. As you can see, awning is now positioned a fair distance from the side of the van. This is not ideal, so Rick didn't even bother treating the steel.
- INSTALL ATTEMPT 3 (Custom Brackets): Next we

