RV fridge, high-insulation ice chest, and overland-grade electric cooler: We've tried them all. Here is a run down of our experiences and what we ultimately ended up choosing (and preferring).
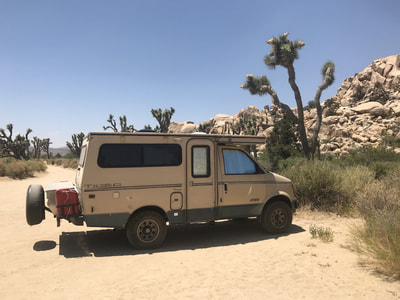
RV Refrigerator – Prior to Tankenstein (our Astrovan Tiger-conversion camper), we owned a (new) small 15-foot trailer, which had an RV refrigerator. We had mixed success with that fridge, especially going between electrical and propane. But, it worked well enough and it was the one form of cold storage with which we previously had experience. But, with a small van set-up there are limitations (more in that in a bit).
Admittedly, the RV refrigerator that came with Tankenstein never really worked (because it was an old piece of shit like everything else that came with our 1987 converted Chevy Astrovan – haha!) The refrigerator blew the GFCI breaker in our house when we tried using shore power and we didn’t have any better success with propane. We realized there was no salvaging the fridge (or the old converter or the old propane tank) in our van.
When we realized we would need a new set-up for Tankenstein, we looked into RV fridges and found high quality brands to be quite expensive (upwards of $800-1000). In addition, to use the electric settings, those fridges require DC to AC conversion, which meant we would have to spend several hundred dollars on a converter and a bunch of time and money on a robust electrical redo. In addition, RV fridges are not that efficient in and of themselves, and the DC to AC conversion loses energy (not good if you are considering solar).
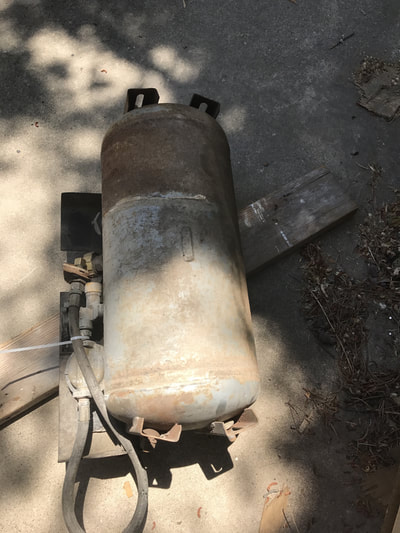
Although the propane settings on the RV refrigerators are helpful and viable, the propane tank that came with our van was small, old, and very heavy. We knew that between the stove and the fridge, the propane would be drained quickly and we didn’t have room for a larger tank. We were also on a mission to cut weight, and that old tank had to go.
The combined cost, inefficiency, requirement for propane, and requirement for us to redo an elaborate electrical system, lead us to the conclusion that an RV fridge was just not viable for our small, off-road rig set up.
High Efficiency Ice Chest – The van needed and got a major overhaul (see previous blog posts), which included ripping out all of the wall covers, re-doing the insulation, ripping out the old electrical system, removing the old propane tank and removing the old heater. We were starting from scratch and considering all options.
But, because we are on the road for long stretches at a time, we had to do the work in stages. There was a period of about 6 months where we lived out of the gutted van and used two high-insulation ice chests (a Yeti and super thick-walled Igloo). Although these are awesome ice chests, they did NOT make van life easier.
The disadvantages of the ice chests were:
- Limited room for the food (since the walls are so thick);
- Taking up a lot of space in the van;
- Soggy food from melted ice (yes, we even bagged the ice in ziplocs, but leaks occurred);
- Continuously replacing the ice, which actually became expensive (it felt as though we were throwing money away with each bag refill);
- Rotting food if the ice melted too quickly on hot days;
- Driving long distances from where we were mapping to get ice (which costs additional money in gas).
Although the simplicity of an ice chest was initially appealing, the realty of living with it sucked. These high insulation ice-chests are not inexpensive either! If we had just applied the money we spent on those chests, the ice, and the gas to get the ice, to an expedition-grade electric cooler, we would have been far better off. But, at the time, we weren’t fully aware of all the options and we wanted to make an informed decision.
Expedition-Grade Electric Cooler – When we were mapping at Joshua Tree we visited the climbing shop Nomad Ventures. Some of their staff saw our rig and asked for a tour. We were in the midst of the remodel and we talked about our food storage woes. They invited us back inside to show us some of their new overlanding supplies (Nomad Ventures has recently expanded into overlanding). They pulled out an electric cooler and explained all of the advantages. It sounded appealing, but with a $1000 price tag, we needed to do some investigating.
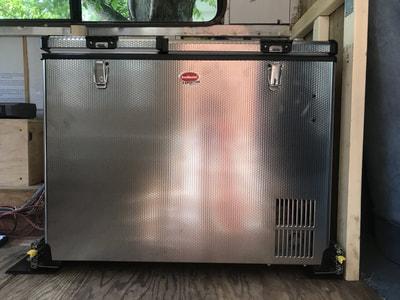
We looked into a variety of brands and reviews and, ultimately we went with the SnoMaster cooler at Nomad Ventures, as it received excellent reviews, has the longest compressor warranty (5 years), has features we liked, and the price was in the ball park of other brands. Here are the features we dig:
- It plugs into a cigarette lighter (12 Volt)! All we needed to do to get that system up and running was run a wire from our coach battery, splice in a cigarette lighter plug, and plug it in. So easy!
- It is super efficient. The maximum draw is 5.5 amps on 12 volts and it can draw as little as 2.5 amps with the right settings and ambient conditions.
- It is designed for off-roading. Most compressors need to be level and not jostled, so an RV fridge is not really designed for off-roading. The SnoMaster compressor can easily handle off-road angles.
- It’s quiet (except if it starts beeping to warn you the battery is low). We are not woken when the compressor turns on in the middle of the night.
- The compressor automatically shuts off if the battery gets too low. You can adjust the level at which it shuts off (10V, 10.7V or 11.8V). This feature is helpful if you are running it off the same battery as your car (so you will be able to start your car). We have a dedicated coach battery so we have the shut off at 10v to maximize use of the battery.
- If you are someplace with electricity, you can directly plug in the cooler (we simply run an extension chord, no need for a van-based converter).
- You can easily pick up and move the fridge out of the van and into a hotel room or your house (to load up, for example), and plug it in.
- It cools down VERY quickly!
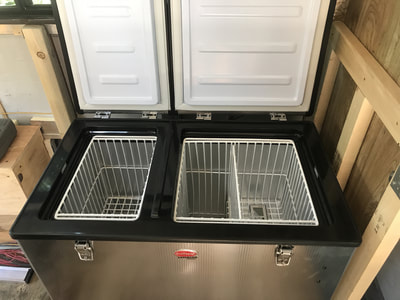
- All electric coolers have a lid/door that opens from the top. This design is more efficient because it retains the cold air inside (since cold air is more dense and falls – hence when you open a front-door RV fridge the cool air pours out).
- We purchased the version that has two compartments (one larger and one smaller). We can independently adjust the temperature on each side, allowing us to use one as a freezer, if we wish. However, we use both sides in the refrigerator mode but adjust them to different temperatures to maximize our battery life.
We experimented with the compartment temperatures to maximize battery life because we were running all the electrical off one 80 amp marine deep cycle battery (this is a very low amp battery). The cooler beeps at you to let you know if the battery gets below a certain level (which you can set), that way if you are running your car and the cooler off a single battery, you will still have enough juice to start your car.
We have a dedicated battery (actually, now we have two...), so we lowered the beeping threshold (especially if we didn't drive for a couple days) because inevitably (with just the single battery) the cooler would start beeping at us in the middle of the night...
Here are the temps we generally keep the cooler at:
- The smaller compartment is kept at around 36 degrees F to store meats and other items at a cooler temperature. If the meat starts off frozen, it remains frozen for quite a long time. We will lower the temp to around 33 if the meat is not frozen.
- We keep the larger compartment at around 40 degrees F, which is good for fresh fruits and vegetables.
We have since added a second battery and have zero issues with batteries running low if we don't move for a few days.
THE INSTALLATION
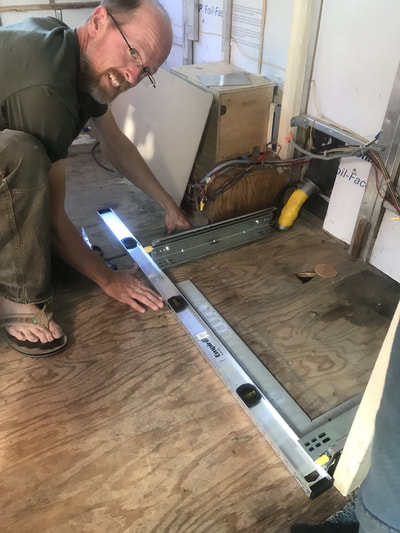
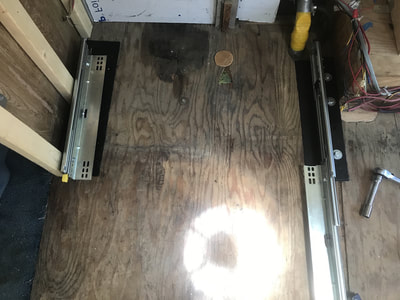
In order to accommodate the new cooler, we ordered heavy-duty sliders and mounted them on the floor of the van (the cooler is secured to the sliders using compression straps to prevent cooler movement when driving - especially off-road). This set up allows us to build cabinetry around the cooler and then slide out the cooler for access.
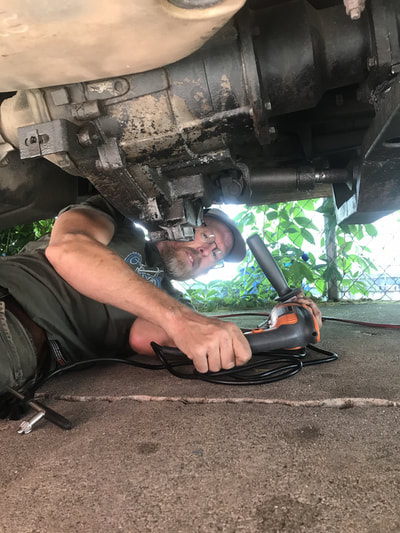
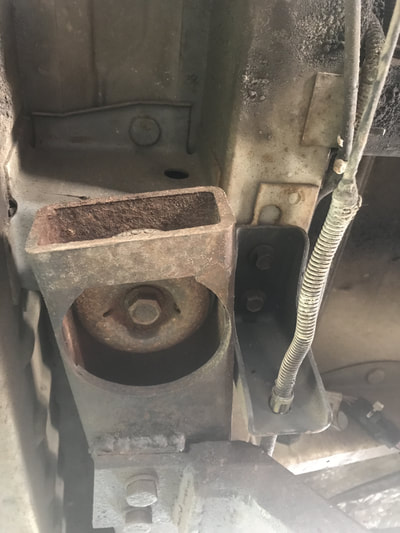
Since the cooler requires airflow, we positioned the sliders such that the cooler sides are about 6 inches away from the van walls, it is positioned adjacent to an outside vent, and we drilled a couple of vent holes in the floor to facilitate circulation. In general you can safely place the cooler 3 inches from the walls but our placement was necessitated by other factors, including the plan to install cabinetry around the cooler, the location of the gasoline line (the metal piece wrapped in yellow tape in the photos below), and the location of items beneath the van (as seen in the photos and video below).
(Video 1: 0:25 sec) (Video 2: 0:34 sec) (Video 3: 0:48 seconds)
|
|
|
We have found the electric cooler to be a critical piece of equipment. It is large enough for us to store at least 1.5 - 2 week’s worth of fresh food without having to re-stock, enabling us to be remote for extended periods of time. We have taken the cooler on 4-wd/rough roads and have had no problems.
Our only complaint about the SnoMaster is the lid of the large compartment falls off if we open it a certain way. Although it doesn’t fall off every time, it falls off enough to be significantly annoying, as it is a pain to put it back on (and you have to put it back on correctly or you don’t get a complete seal).
Despite the lid issue, we are happy with the SnoMaster, but there are other overland-quality electric cooler options. All-in-all, if you are in the decision-making stage of what type of cold food storage set-up to use, especially if you off-road, we strongly recommend not wasting money and go directly for an overland-quality electric cooler.

