SUMMARY HAIKU
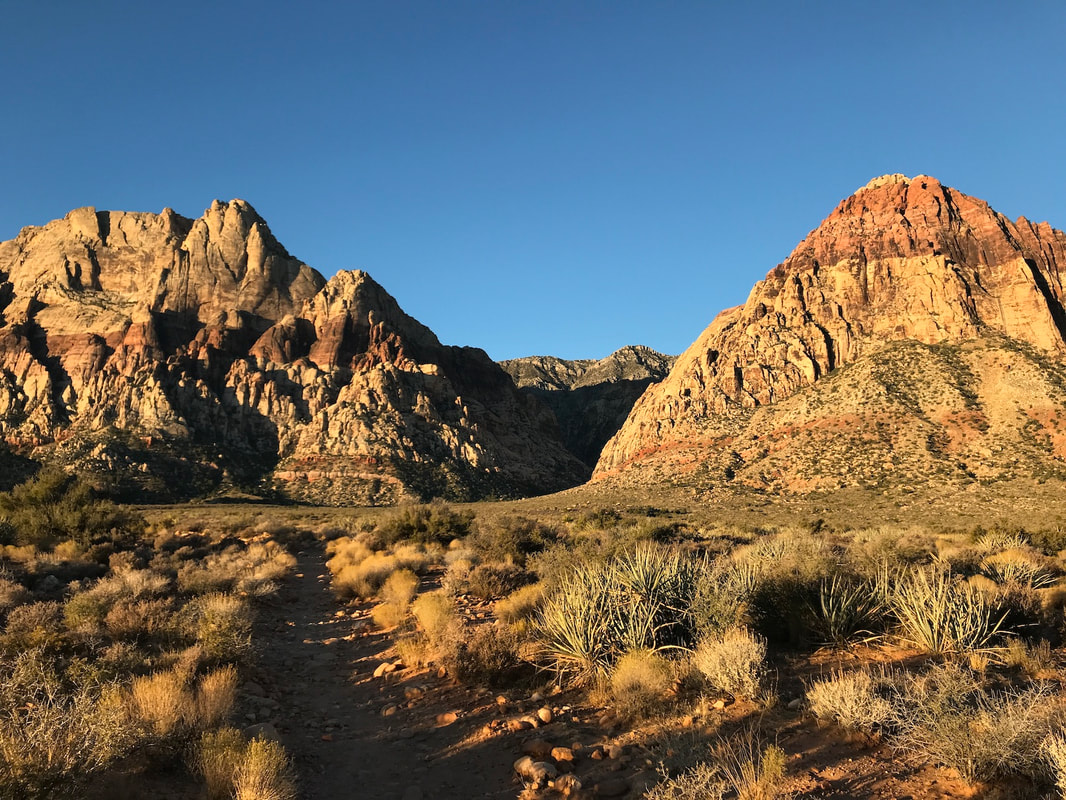
Route to Solar Slab
Rick liked this climb, Stef did not
Rated "What the Fair"
Route to Solar Slab
Rick liked this climb, Stef did not
Rated "What the Fair"
Climb: Tanline (Trad, bring #4s) (580')
Wall: Lower Solar Slab
Suitable for a Beginning Lead Trad Climber? Possibly, though each pitch has its challenges.
Conclusion WTF? What the FAIR
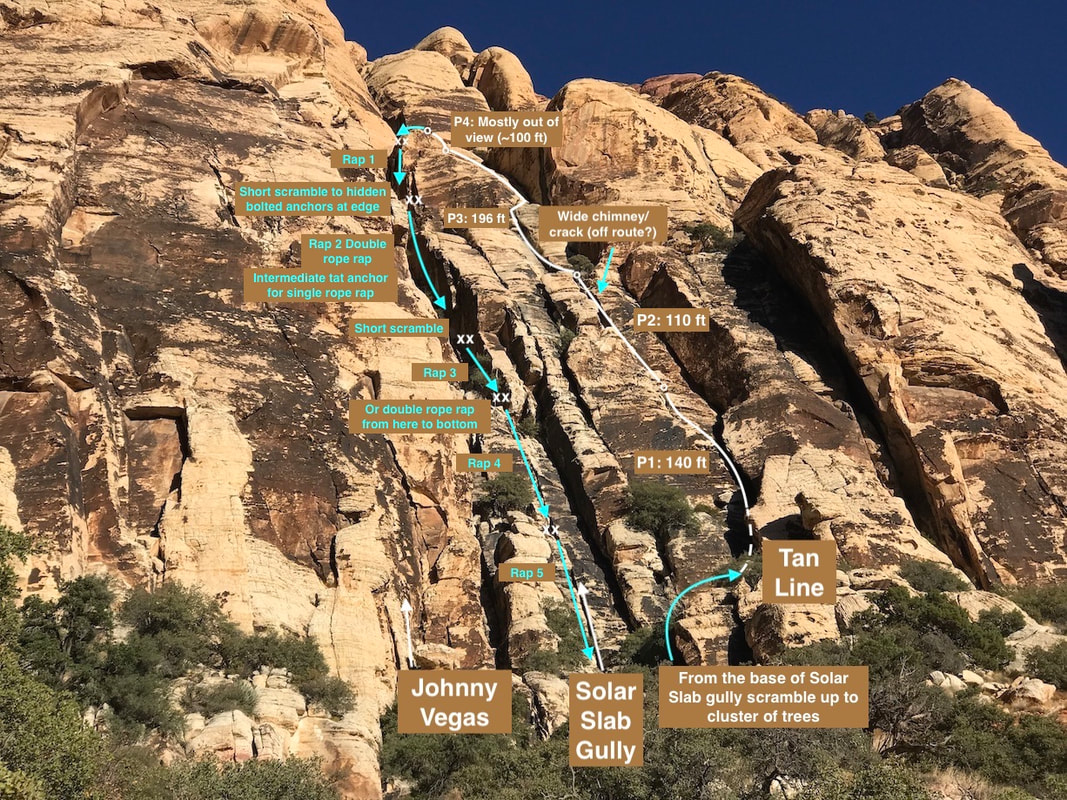
Tan Line is located immediately to the right of the Solar Slab gully. It is only located on Mountain Project (not in Handren) and is touted as an alternative to the gully, either as its own climb or to access Solar Slab. Stef didn't really care for the climb, Rick liked it a little better but wouldn't put it anywhere near the top climbs.
Stef's over all thoughts of the climb are:
Rick's overall thoughts of the climb are:
On a general note, the climb description lists the climb as 480 feet and says to scramble the the last bit to the big solar slab ledge. We felt like we still needed a rope for safety's sake on the low 5th class and estimate a last 4th pitch of about 100 feet - so the climb is really more like 580 feet.
Stef's over all thoughts of the climb are:
- If you are just trying to get up to Solar Slab and don't care how you do it, then fine, but if you want an all around great climbing experience and you don't want to go up the gully, then do Johnny Vegas or Beulah's Book (Beulah's Book is rated a 5.9, but there is an alternative 5.7/5.8ish variation to avoid the 5.9 section.)
- The reasons I don't care for this climb are:
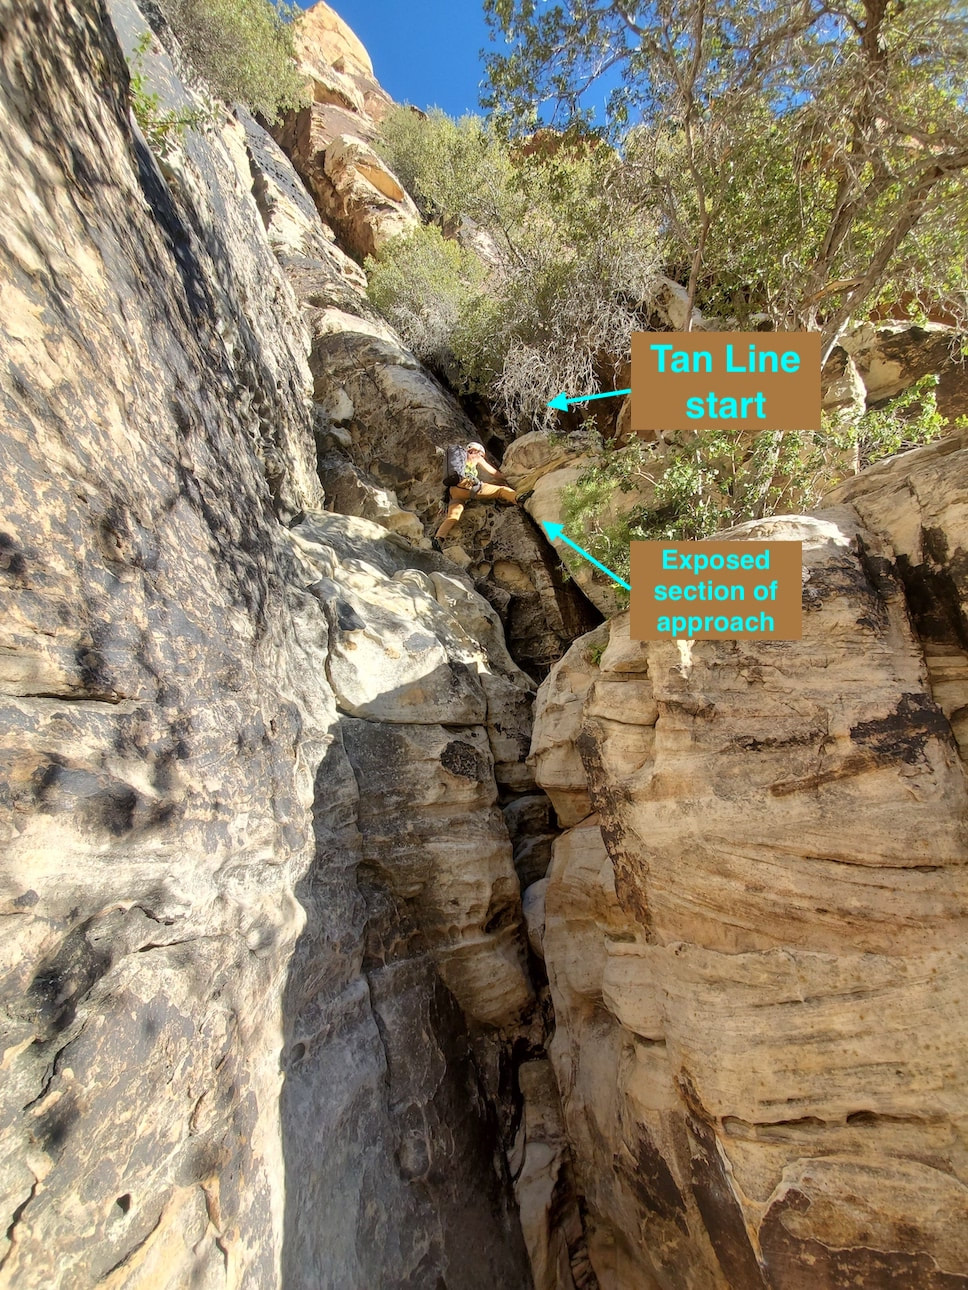
- The exposed approach to get to the base
- The description claims the route finding is easy/straight forward, it's not the worst route finding, but on pitch 2 I went the wrong way. It did get me where I needed to go, but I was not able to locate the way they described.
- It felt more like broken up 5th class climbing, sort of jumbled and incoherent.
- The rock is mixed quality and meh (although there are some neat surrounding rocks that are visually stimulating)
Rick's overall thoughts of the climb are:
- There are a lot of neat parts to it.
- The climbing was varied (which is true)
- The climb was ok, a notch below "good."
On a general note, the climb description lists the climb as 480 feet and says to scramble the the last bit to the big solar slab ledge. We felt like we still needed a rope for safety's sake on the low 5th class and estimate a last 4th pitch of about 100 feet - so the climb is really more like 580 feet.
Approach
Pitch 1
|
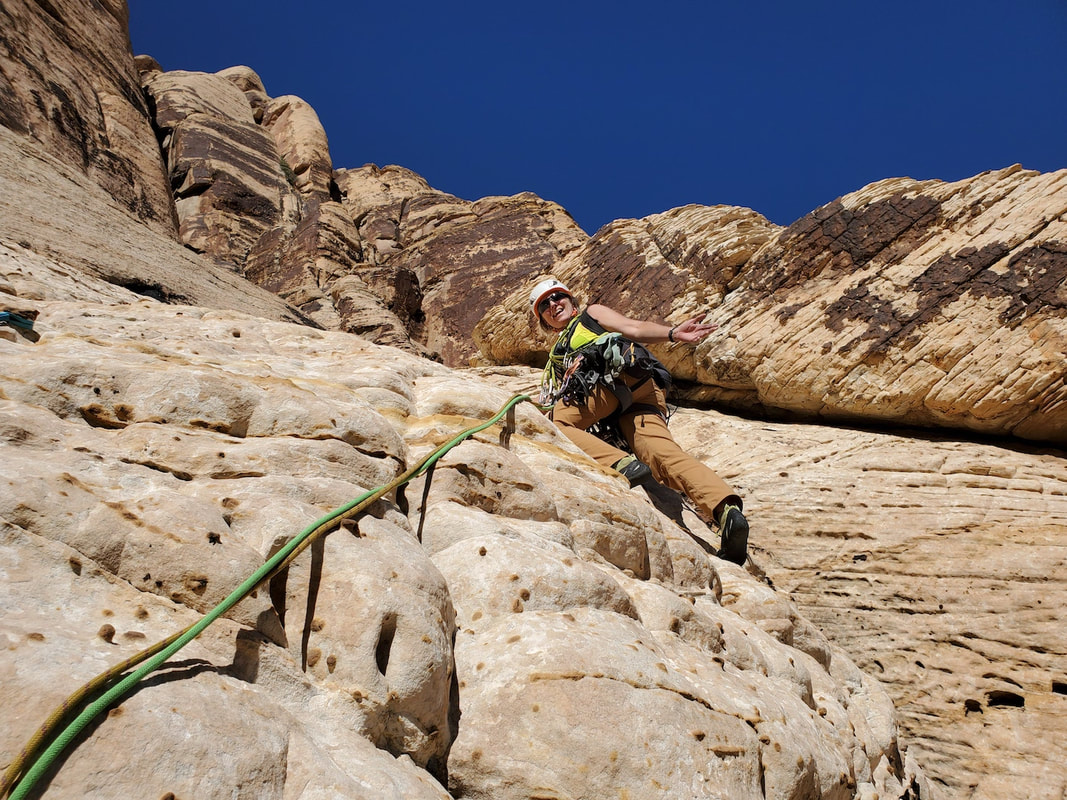
Pitch 1 goes past a cool looking fin of white rock, then up the pocketed face that is difficult to protect unless you have larger tricams. It's surprisingly spicy and committing across this face, and if you don't have the right pro, gets run out. Things ease up fairly quickly as you head right towards the large, ceiling of rock that forms a large chimney.
Beneath the ceiling of rock/chimney is darker petina that is higher quality rock, but appears to have limited protection (based upon Rick's memory). He ended up going up the face that has some protection but questionable rock. Eventually you do veer left to access a crack that takes you to the small ledge for the belay station for pitch 2. |
Pitch 2
|
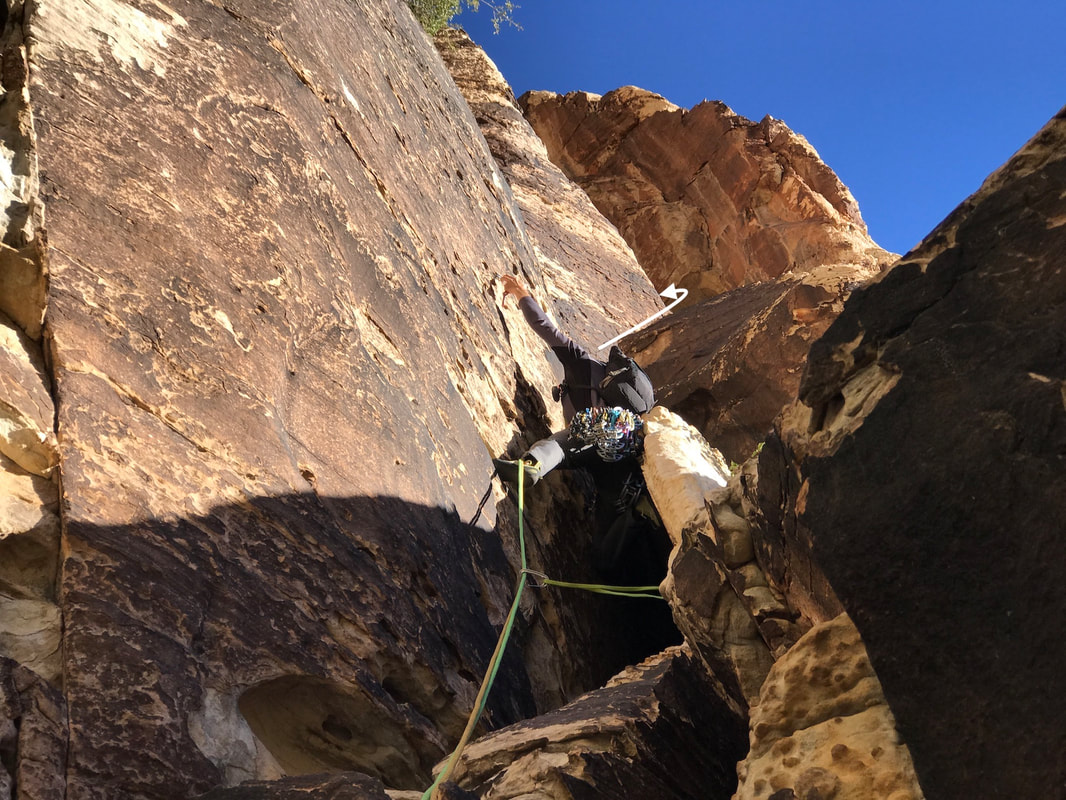
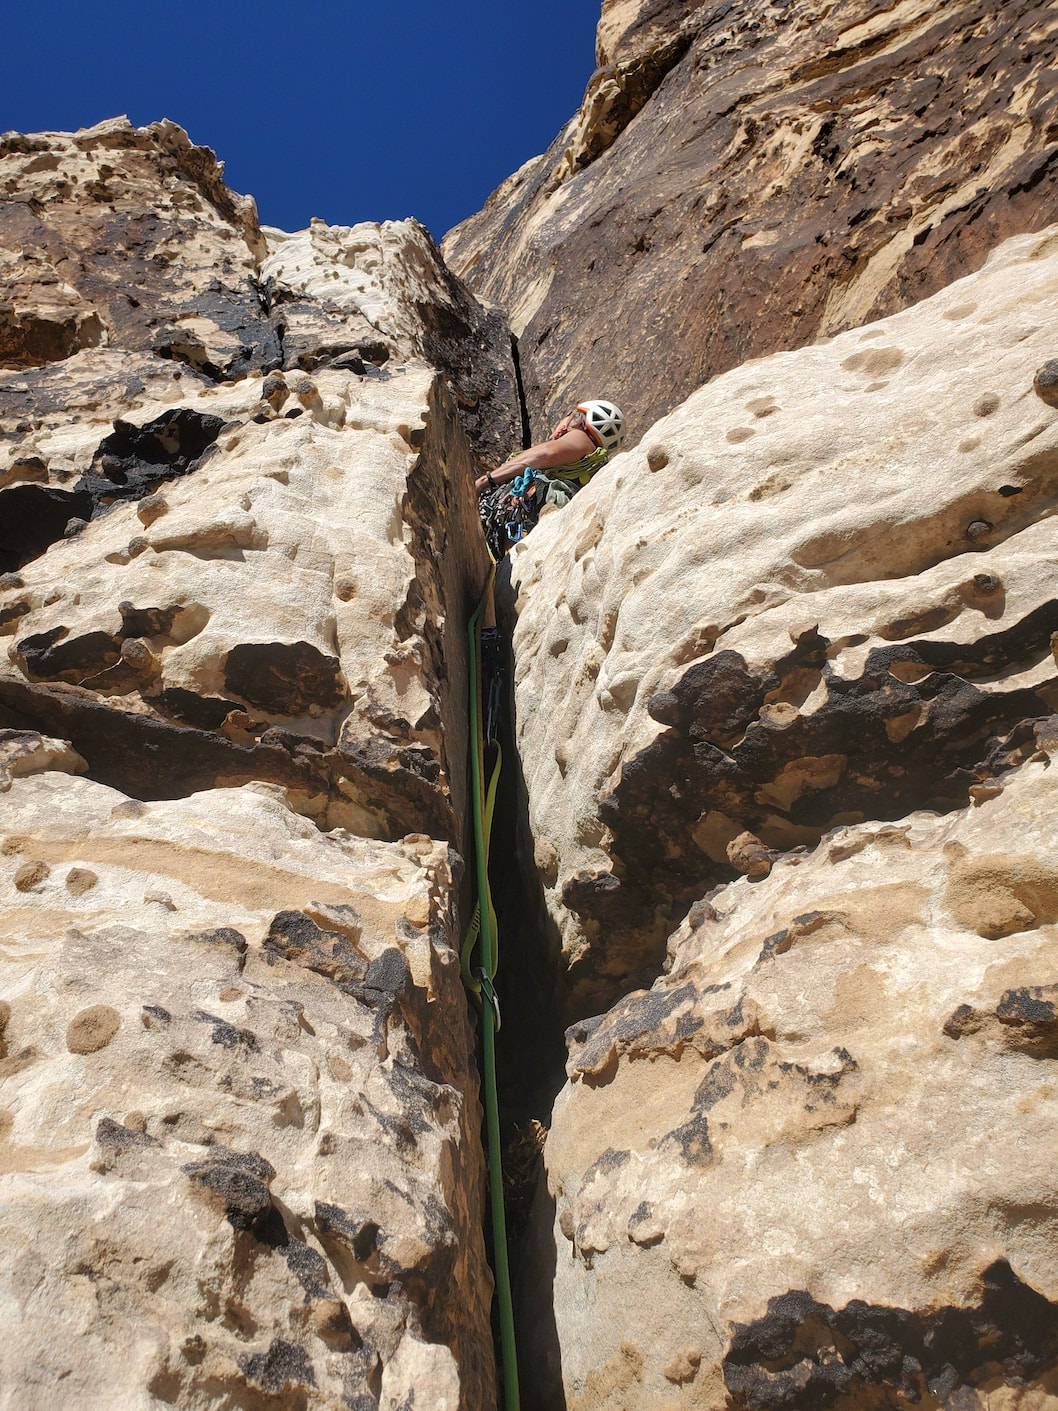
Pitch 2 follows a series of cracks to a deep, large, chimney/crack (you can't see the crack in the photo of pitch 2 here, but you can see it in the primary labeled photo above.) The Mountain Project directions make it sound like you climb on a face parallel to the offwidth crack, but if that is the case, it does not specify which side of the crack. We both looked around and agree it is not obvious where to go for a protectable face climb outside of the offwidth. There is a small, inconsistent crack on less-than-stellar-looking rock that also appears to peter out. So, I (Stef) just went up the offwidth - which definitely requires off-widthy moves.
Near the top, I decided to avoid the tree, by going out left outside of the crack. Pitch two tops out onto a large belay ledge where you can walk around and move over to belay pitch 3. |
Pitch 3
|
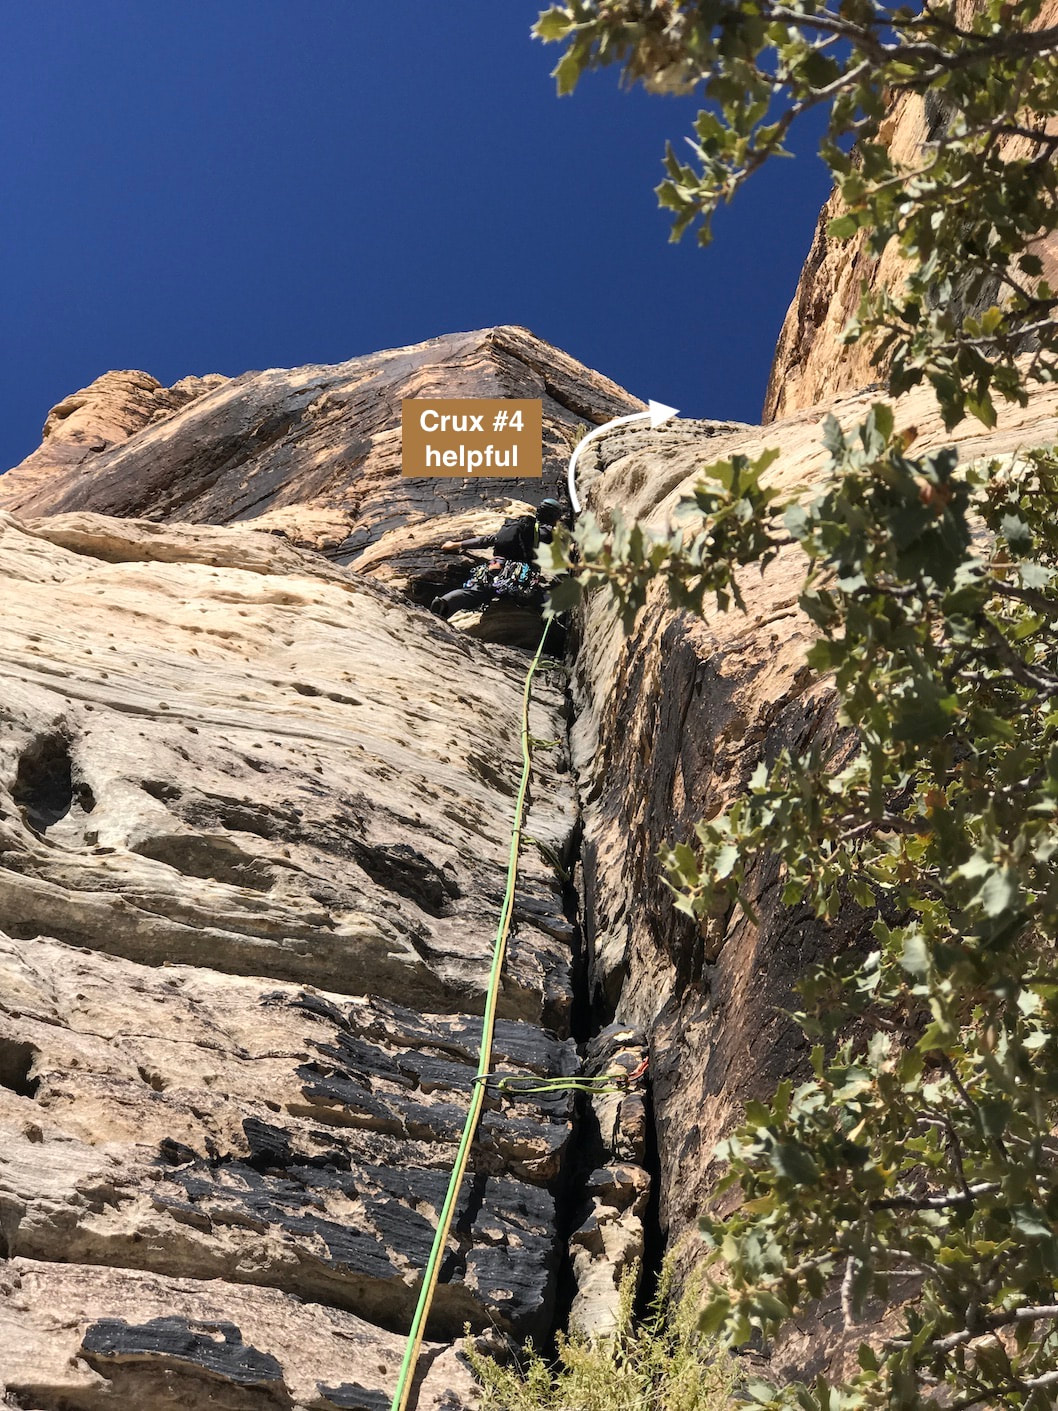
From the belay it is clear where to go for this section of pitch 3.
The photo shows Rick at the clear crux of this climb. Rick placed a piece low in the bulge then a #4 near the top out. This has some spice to it. Once above the bulge, go across right. There is a corner that looks protectable to climb, but Rick opted to go up the slabby, knobby face (which has less protection) aiming left towards a cleft. This pitch took a full 60 meters (walkie talkies are helpful.) There is a small ledge with a good sized horn above it. |
Pitch 4
|
The Mountain Project description talks about scrambling from the top of pitch 3 to get to the Solar Slab ledge. The climbing is slabby/slopey low 5th class, that, although, not very protectable, we stayed roped up because a fall would be deadly.
It's probably about 100 feet to get to the large, flat terrain of the Solar Slab ledge. |
The Decent
The marked up photo near the top of the page shows the decent down the Solar Slab Gully. When you unrope, head climber's left towards the gully and you will see bolted anchors for the first short rappel that takes you down into the gully. Scramble in the gully to the next drop off, then look around the corner/edge and you will see the next set of anchors. Be careful of the drop-off. (There is also a tat anchor around a tree, but pulling the rope from the bolted anchor will be cleaner.)
You can do a double rope rappel down to a large, sandy alcove, or a single rope rappel to a tat anchor. With a double rope rappel, the risk of the rope getting stuck increases in this section.
Walk and scramble down to the next set of anchors visible on the left wall (as you face outwards towards the valley). Do a single rope rappel to the next set of anchors. Then, if you have two ropes, you can reach the ground (or do two more single rope rappels.)

