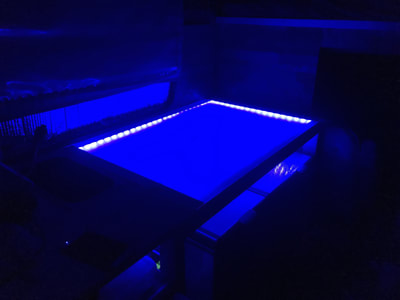
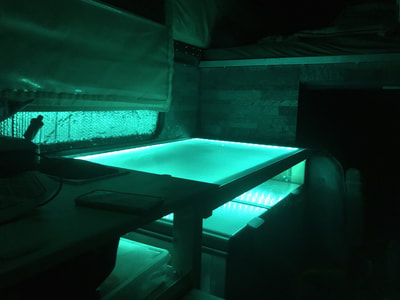
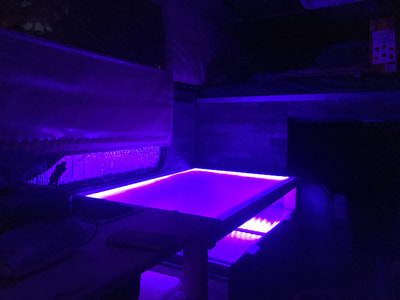
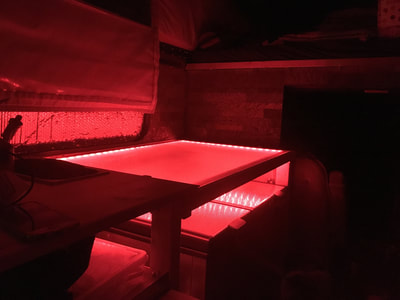
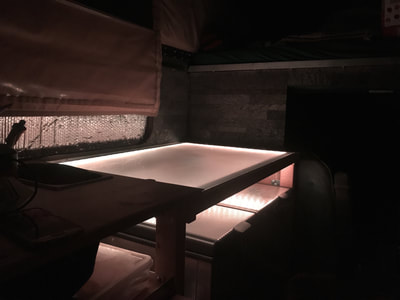
Looking for some ambience in your camper van beyond the hanging strand of lights? As part of our Tankenstein rebuild we created a glowing disco counter top. Check out the video if you want to hear Rick's pounding dance beat! As you will hear, it's way better than mine (Stef's) :-).
Below are some details about the build.
Below are some details about the build.
How We Did It:
- The counter is 1/4" (minimum) thick sheet of plexiglass. The plexiglass needs to be thick enough prevent bowing across the span of your counter top. Cut the plexiglass to size.
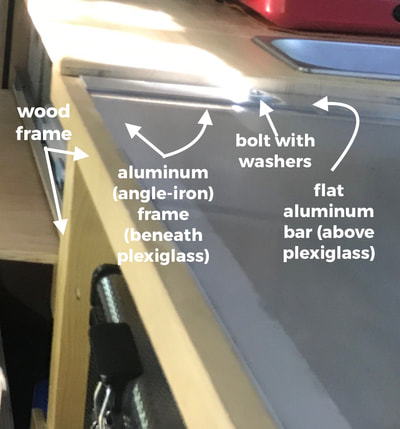
- A frame is needed to support the plexiglass. We built a wood and aluminum-angle-iron frame. The aluminum angle iron is how we physically support and secure plexiglass.
- We drilled holes in the lower side of the aluminum-angle-iron to attach it to the frame/wall of the van and to the wood counter frame.
- We drilled holes on two of the upper-L sections of the angle-iron (the part of the angle-iron where the counter top sits). The upper holes are only drilled on the left and right sides of the counter in order to attach the plexiglass to the counter.
- We drilled holes on the left and right side of the plexiglass to attach the plexiglass to the left and right angle iron (make sure the holes align!)
- We added a flat strip of aluminum (drilling holes that align with the plexiglass and angle iron) that sits on top of the plexiglass (between the plexiglass and the top of the bolts) on the left and right sides of the counter. This looks nice but, more practically, it prevents the bolts from cracking the plexiglass as you tighten it down. It also acts as a sandwich to further hold the plexiglass in place.
- TIP: Do not drill holes too close to the edge of the plexiglass. The plexiglass will crack/break off.
- TIP: Use bolts with a smooth, rounded head (they look nicer).
- Get an adhesive, cuttable strip of LED lights. Attach the lights to the frame directly beneath the counter top.
- We used LEDs that run with DC (battery) power.
- We wired the lights into an electric fuse box/panel that is connected to our two interior batteries (these batteries are charged by our alternator but are independent from the battery that starts our van. The batteries run all of our interior electrical needs including the Snomaster fridge and interior lights.)

